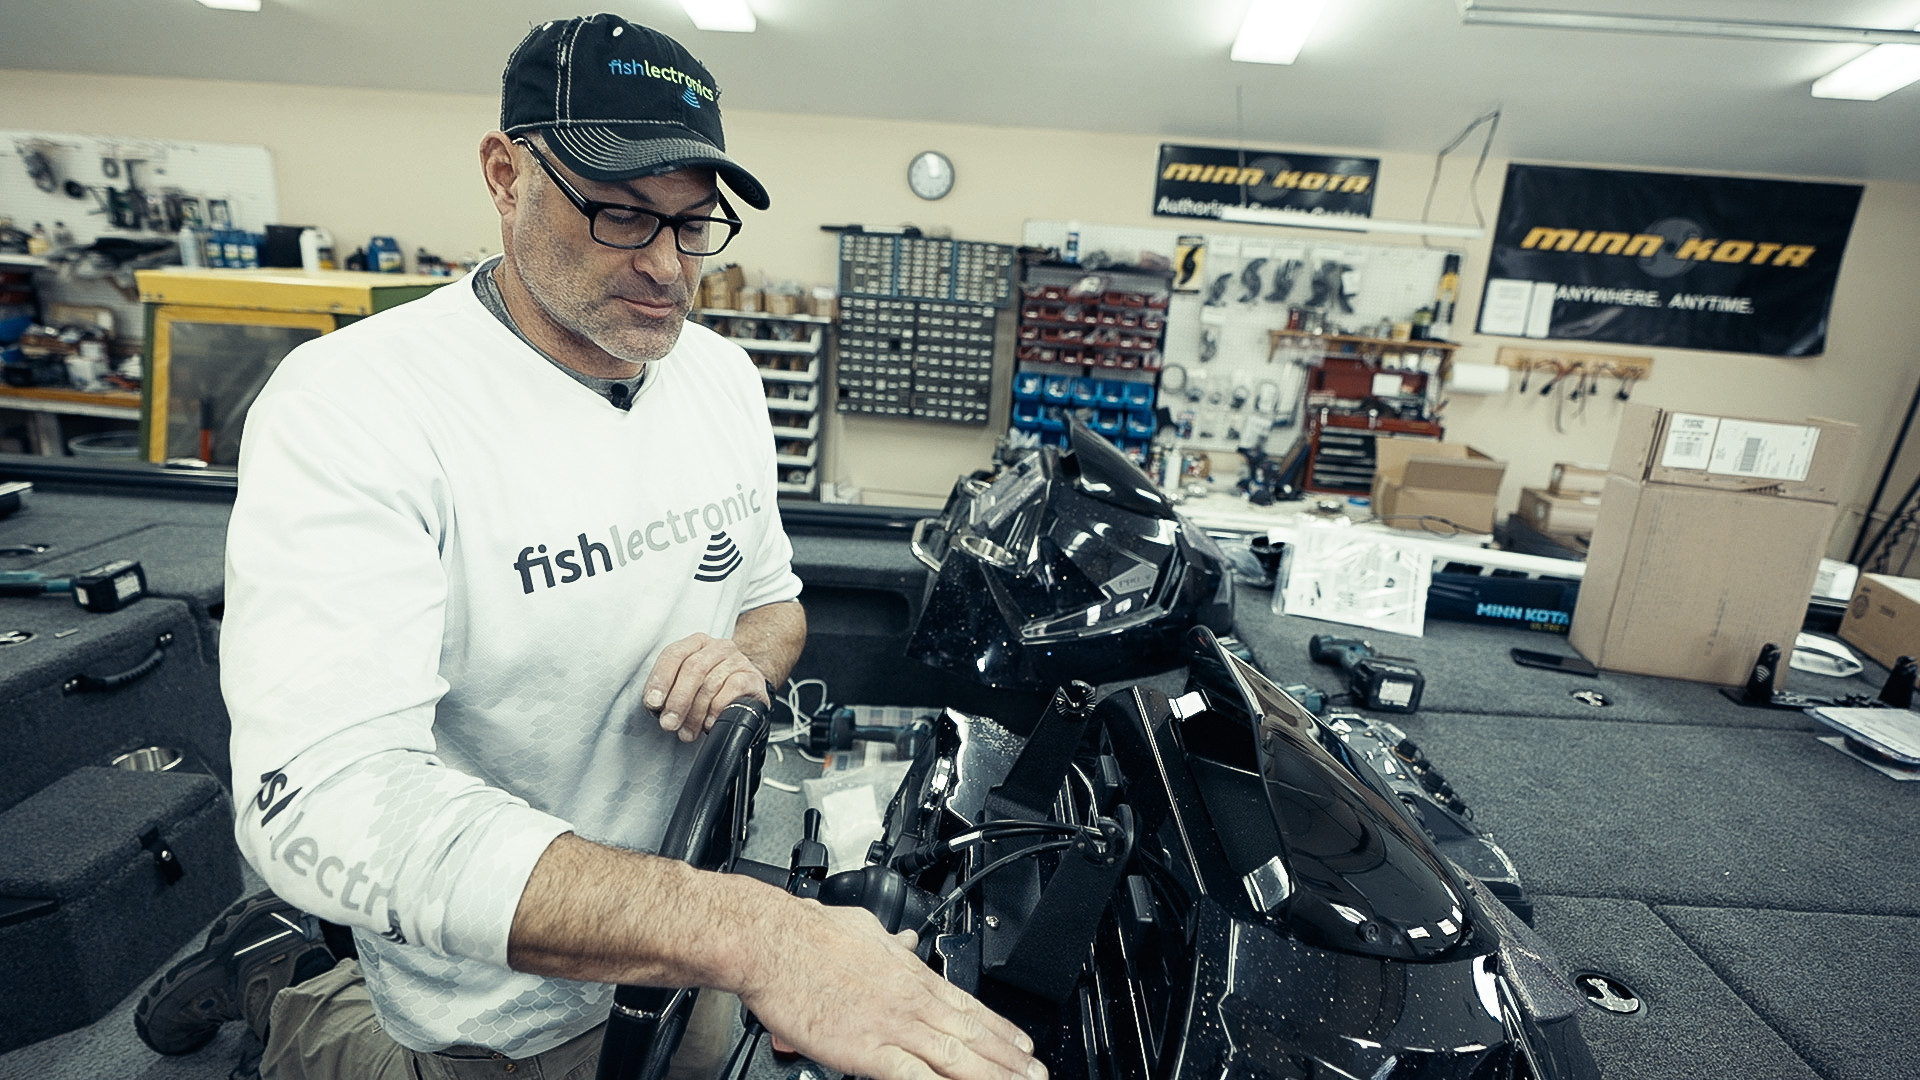
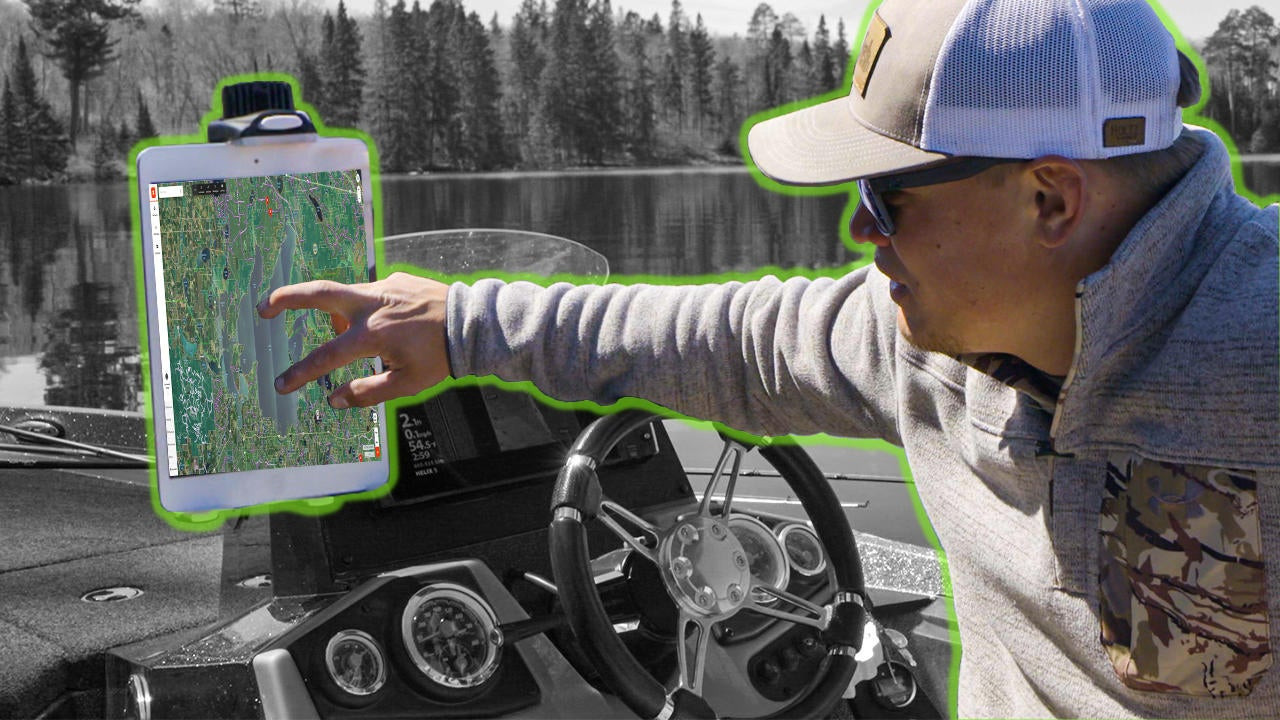
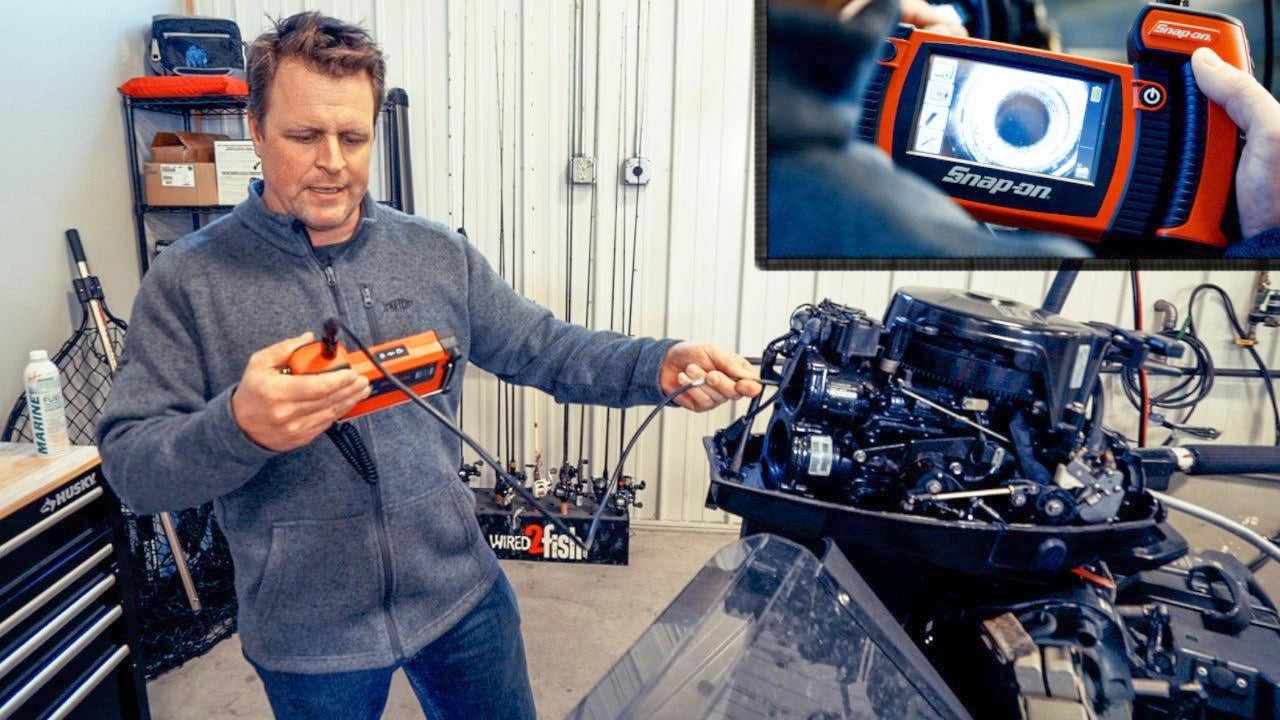
Installing a fish finder is a manageable DIY job as long as you have a little know-how and some essential tools. And even if you’re not up for the job, knowing what a proper installation looks like allows you to assess and troubleshoot your setup. Professional boat rigger Andy Kratochvil of Fishlectronics walks us through a detailed step-by-step fish finder installation covering everything from the initial unboxing and parts layout, transducer placement and mounting, to wiring up the head unit.
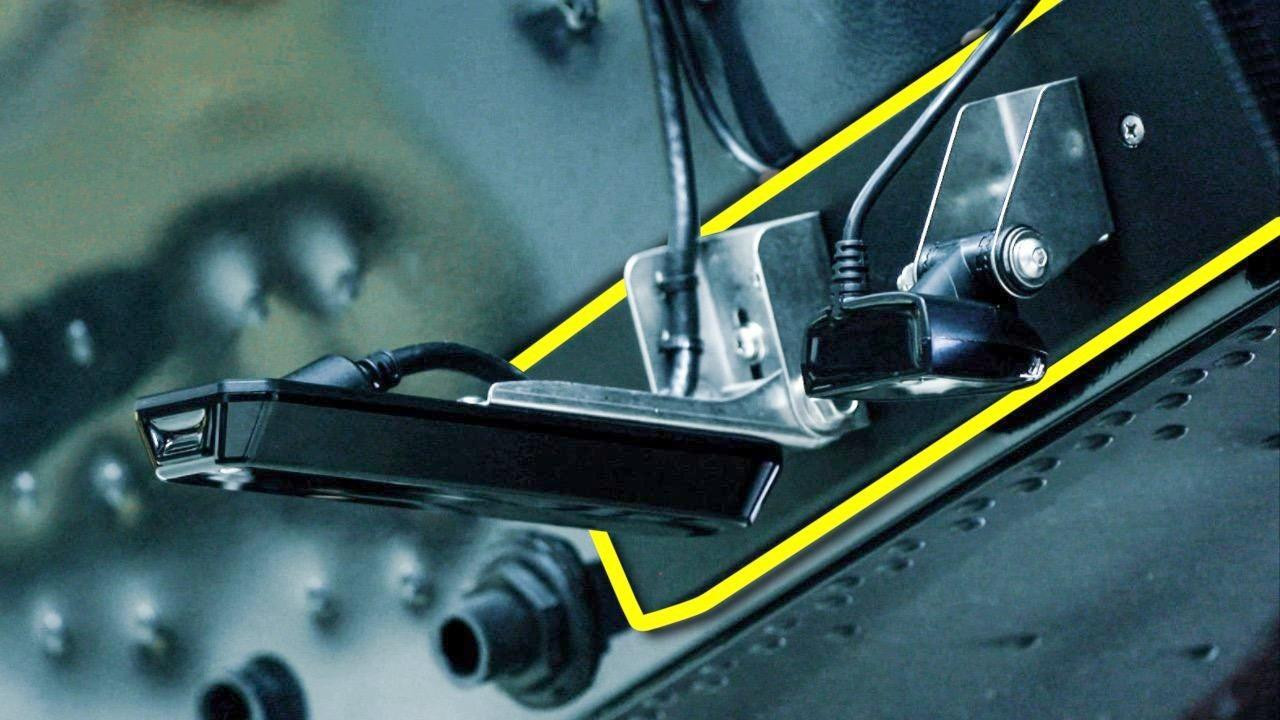
Although the featured graph is a Humminbird SOLIX, Andy’s tips and tricks are aimed squarely at making your install smooth and technically correct regardless of your fish finder’s make/model, new or used. He starts by taking us through an initial unboxing and parts layout. He then works rear to front, starting with transducer setup and installation (2 side imaging and a high-speed skimmer) to plastic transducer mounting plates. Next, he covers how to cleanly route transducer and power supply cables through the electrical conduit to the head unit mounting location.
Finally, Kratochvil shows how to run clean, direct power from the battery to the fish finder, in this case, via the use of a dedicated fuse block. He installs the correct fuses for each accessory, labels the wires and fuse blocks for easy reference, and completes the installation with a power-up test.
FISH FINDER & POWER
- FISH FINDER – Humminbird SOLIX 15 CHIRP MEGA SI+ G3
- HIGH-SPEED TRANSDUCER – XNT 14 HW T – SOLIX Dual Spectrum CHIRP w/ Temp Transom Transducer
- BATTERY – Dakota Lithium 12v 100Ah Deep Cycle Battery (LiFePo4)
RIGGING TOOLS & SUPPLIES
- Transducer Mounting Plate
- Marine Grade Silicone
- Cable Tie Gun
- Cordless Impact Driver
- Fish Tape (for cable routing)
- 8 gauge Cable
- Fuse Block, 6 circuits
- 50 Amp Auto Reset Circuit Breaker
BOAT SETUP
- BOAT – Lund 2075 Pro-V Bass XS (extra seating) Bass Boat
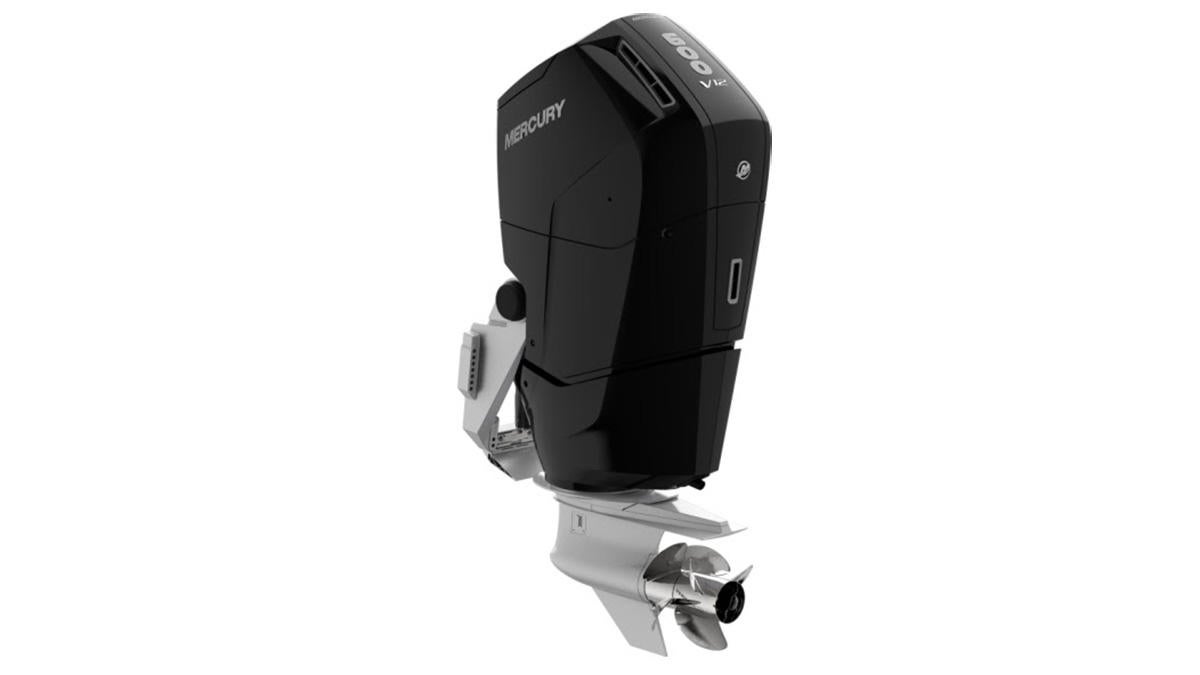
- ENGINE – Mercury Pro XS 250hp Outboard
- JACK PLATE – T-H Marine Atlas Hydraulic Jack Plate, 10-inch setback


