Scott Glorvigen shares a practical, cost-effective, and quick hack for patching a boat cover in this instructive video. Drawing from his vast experience, Glorvigen guides viewers through each step, ensuring that your boat cover is repaired quickly. The process requires only a few simple tools and widely available supplies.
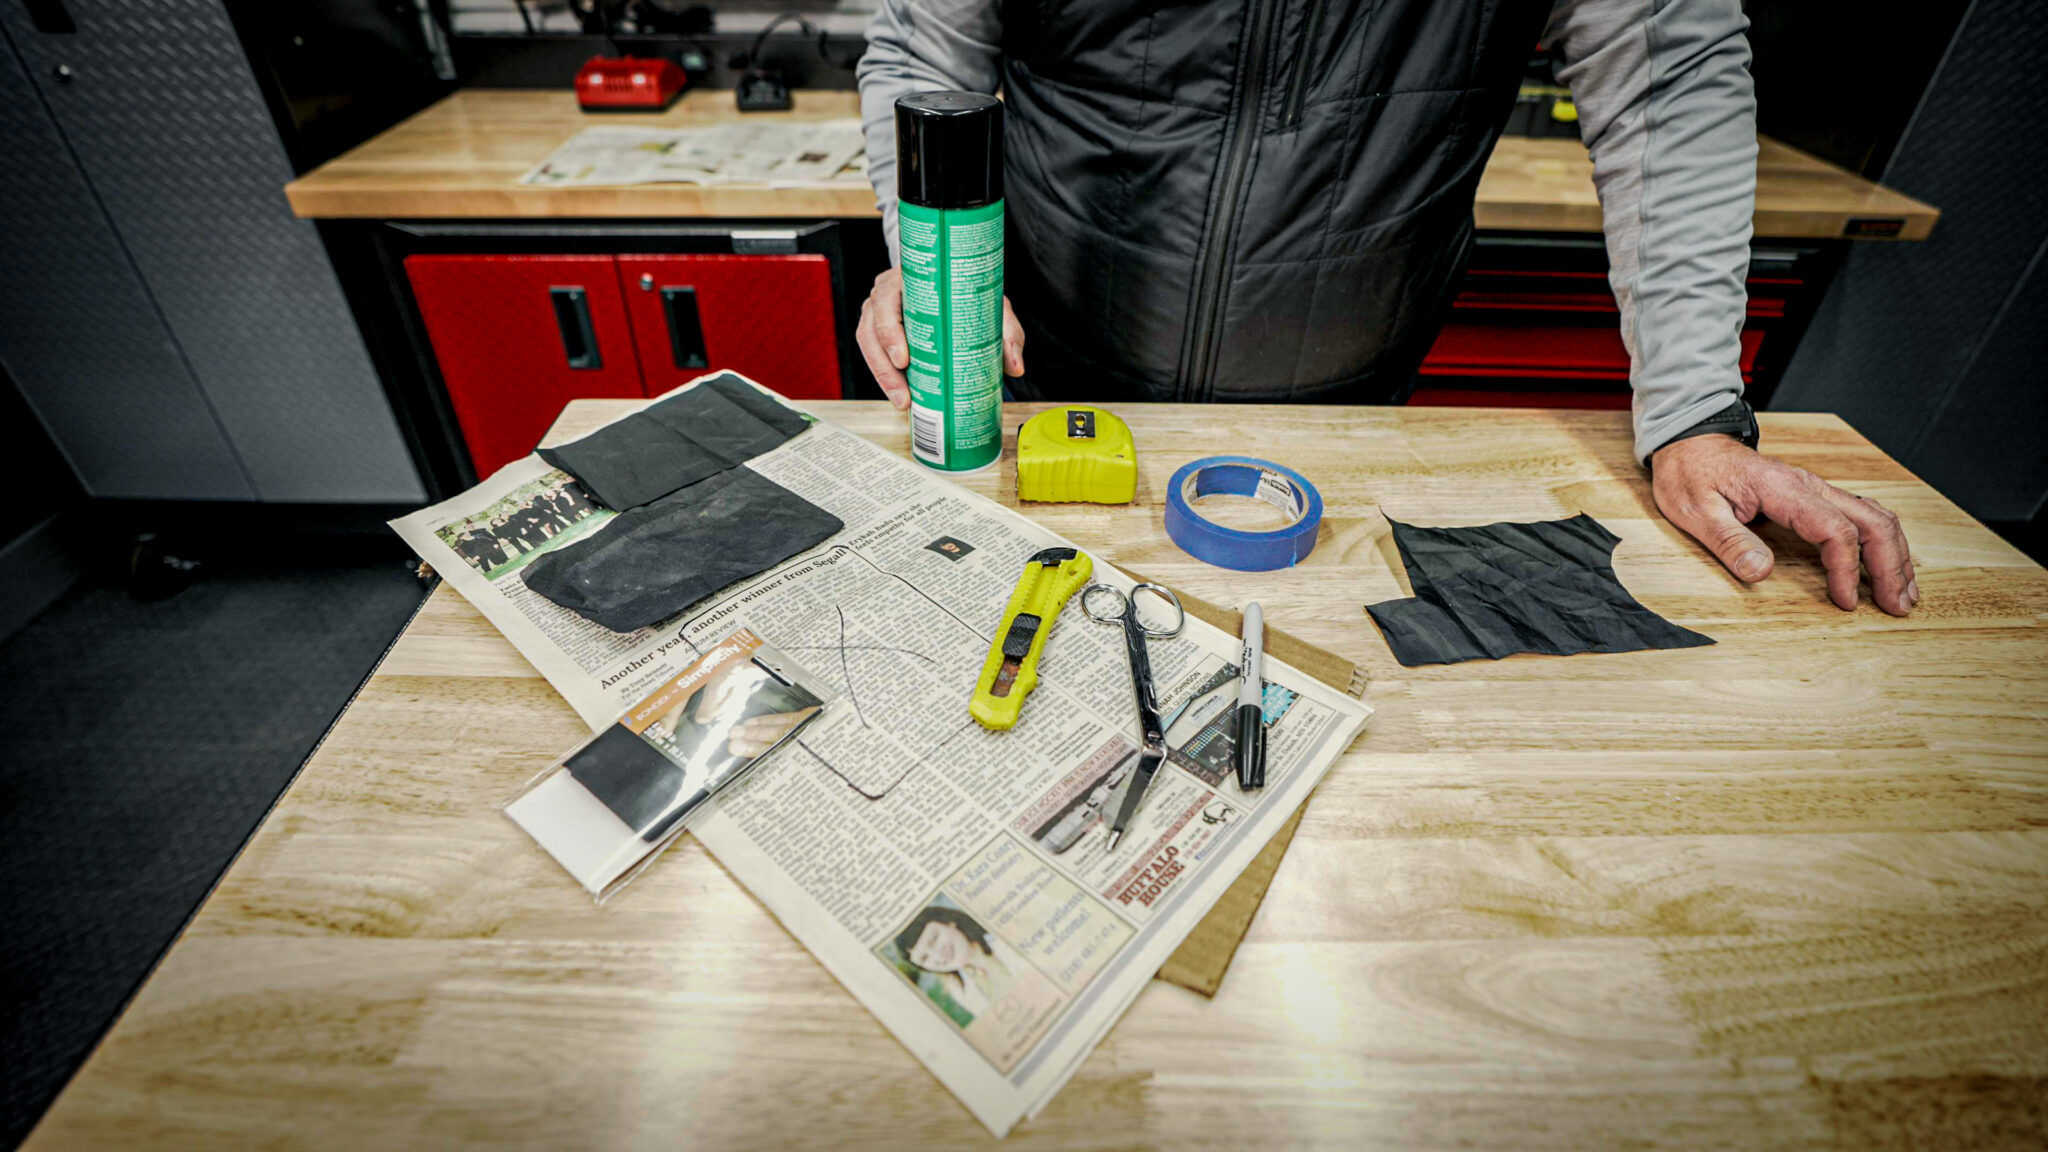
TOOLS AND SUPPLIES LISTING
- RIPSTOP NYLON PATCH – Buy at Amazon
- PAINTER’S TAPE – Buy at Amazon
- SPRAY ADHESIVE – 3M Hi-Strength Spray Adhesive: Buy at Amazon
- TAPE MEASURE – Buy at Amazon
- BLACK MARKER – Sharpie Fine Point Permanent Marker: Buy at Amazon
- SCISSORS – Buy at Amazon
The Perfect Hack for Patching a Boat Cover
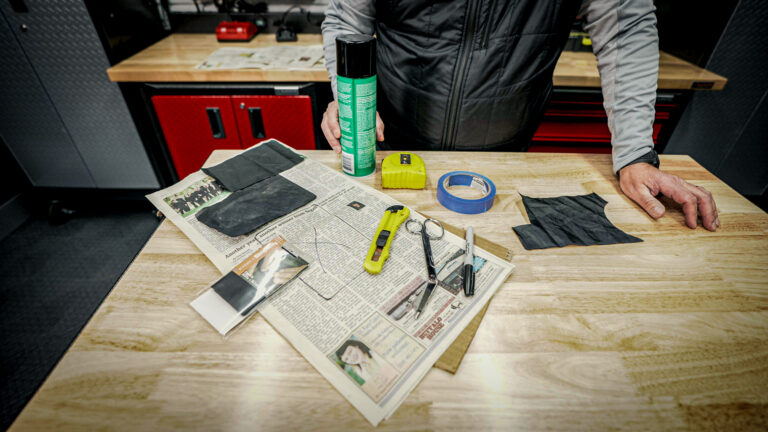
For many boat owners, having a hole in a boat cover is inevitable. Glorvigen introduces the supplies needed for this DIY project, which include commercial-grade adhesive, ripstop-type nylon, painter’s tape, newspaper, a tape measure, and some material that matches the tarp.
Creating the Perfect Patch
Glorvigen demonstrates how to create the perfect patch, emphasizing the importance of matching the patch material to the tarp and making a “sandwich” that covers the tear on both sides. He details how to cut and prepare the patches, underscoring the significance of full adhesive coverage for long-lasting results.
Applying the Patch: A Step-by-Step Guide
From preparing a clean, flat work surface to positioning the patch accurately, Glorvigen walks viewers through each critical step of applying the patch. He offers pro tips like ensuring the adhesive gets tacky before marrying the two pieces together and covering the entire patch with adhesive, especially along the edges where fraying or peeling is most likely to occur.
Achieving the Best Bonding Opportunity
After successfully applying the backside patch, Glorvigen proceeds to the front side, reiterating the process for viewers to follow. He explains why it’s essential to use adhesive on both sides of the material for optimal bonding. He concludes with an effective patched boat cover, perfect for boating enthusiasts with a pesky hole.


